
+- Comfort Automation/ Security System Forums (https://www.comfortforums.com)
+-- Forum: Software Applications (https://www.comfortforums.com/forum-4.html)
+--- Forum: Comfort with Home Assistant (https://www.comfortforums.com/forum-143.html)
+--- Thread: Comfort2MQTT with Home Assistant Part 4- Backup and Restore (/thread-5580.html)
Comfort2MQTT with Home Assistant Part 4- Backup and Restore - slychiu - 12-07-2024
To backup full or partial, go to Settings > System > Backup.
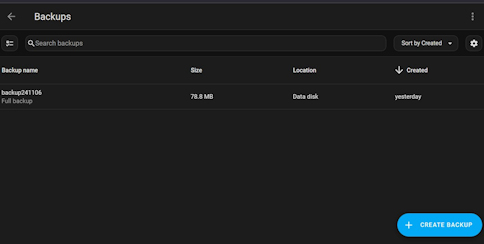
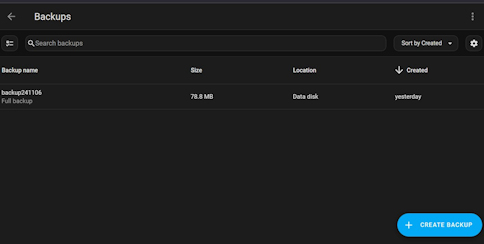
The list of previous backups is shown. Create Backup to start a new back and asign a name for the backup. The backup will be in the backup folder in the root directory.
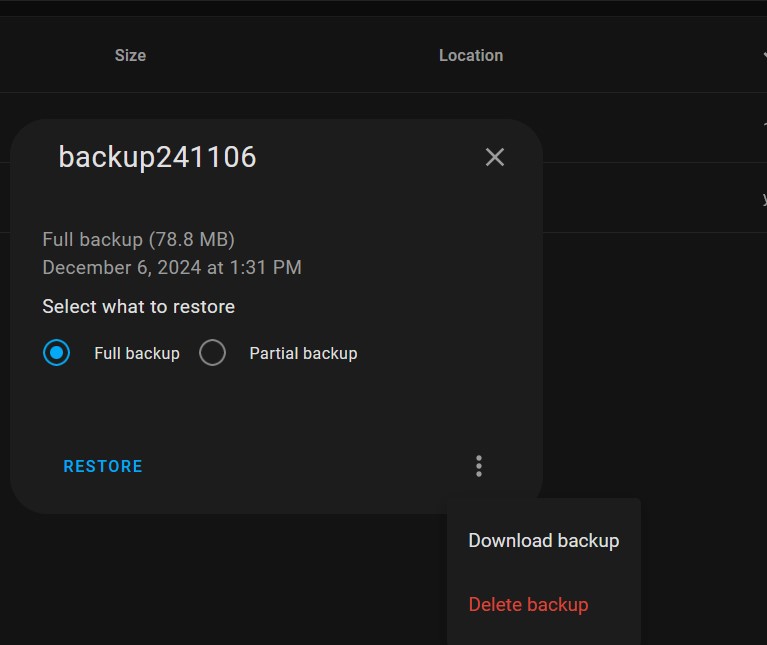
You can also download a backup to the PC by clicking on the backup, click the 3 dots on the bottom right, and select Download Backup. This allows you to save a backup on your PC in case the Raspberry Pi has to be replaced.
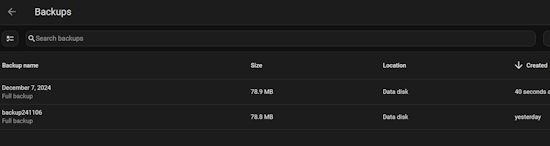
The new backup will be listed in the backup screen
To Restore a backup, select the backup and click, select Restore full backup and oress Restore.
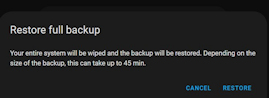
- slychiu - 12-07-2024
You can copy the full backup to another Home Assistant by using Samba Share Add-on to transfer the backup file from the source Home assistant and later transfer it to the destination Home Assistant. Go to Add-ons > Addon Store and select Samba Share. Install it
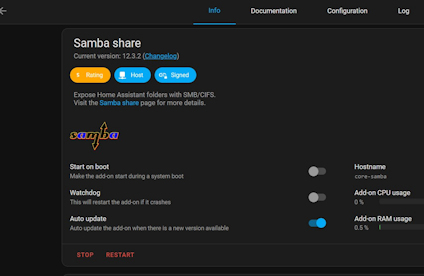
In configuration, enter the user name and passowrd for the share.
Enter the workgroup name and the range of IP addresses eg 192.168.0.0/24 ie 24 bits of IP address 192.168.0.1
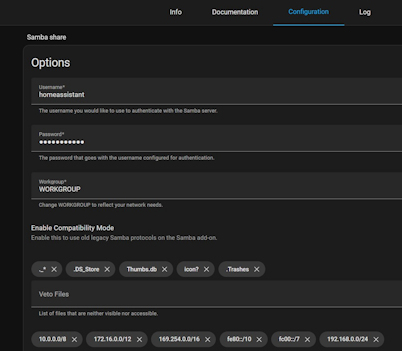
Save and Start the Addon. Check the Samba share log to enure there are no errors
- slychiu - 12-07-2024
For windows, Right click on My Computer select Map Network Drive. Select Drive letter eg Z:, and enter the IP address and directory eg 192.168.0.112\\backup where the IP address is that assigned to home assistant (eg 192.168.0.112)
You have to enter a subdirectory eg backup or config. The root directory 192.168.0.112 does not work.
you can enter Folder URL homeassistant-local\\backup instead of the IP Address
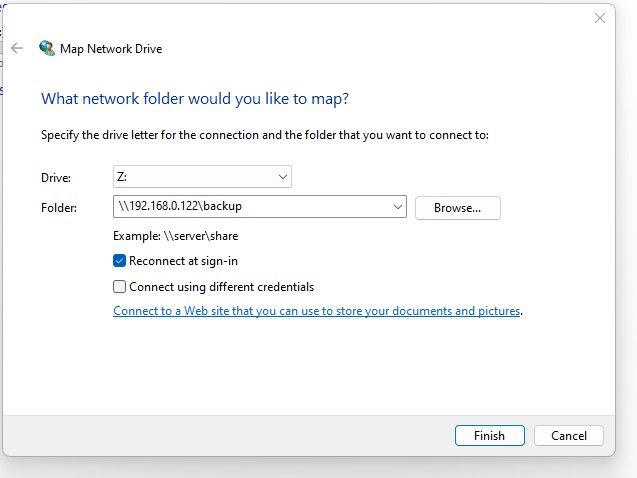
You will be asked to enter the user name and password that was entered in Samba Share config.
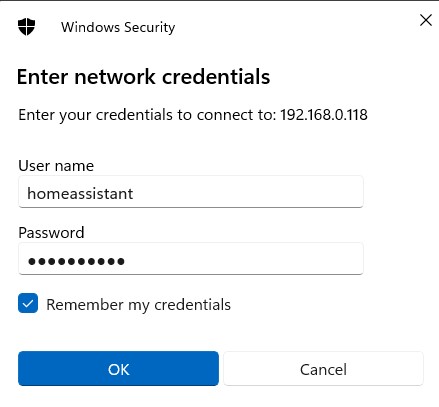
This will allow the drive letter eg Z: which can be seen in My PC in Windows to access the folder backup.
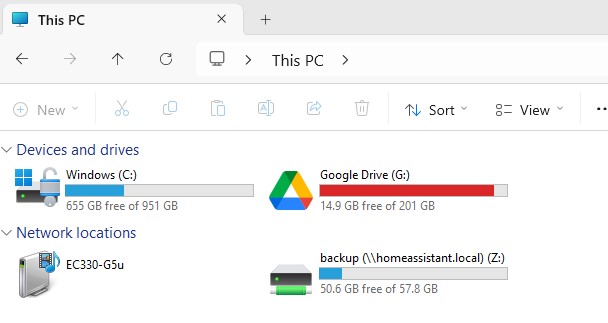

The backup files in the mapped network drive g Z: are listed as extension .tar
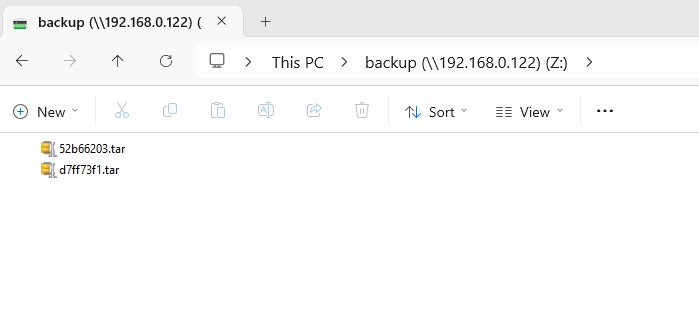
Copy the tar file to the PC. You can also use the tar file downloaded from the Backup page in Home Assistant.
Use the same method to transfer the tar file to the backup folder of the destination Home Assistant.
You will need to install the Samba share add on in the new Home assistant, Go to Backup in the new Home Assistant and restore the backup by selecting the tar file to restore. This will restore the complete setup and configuration to the new Home assistant